How to Remove a Laptop Hard Drive: Easy Steps
Introduction
How to Remove Hard Drive from Laptop
Removing the hard drive from a laptop can seem daunting, but it's a task you can perform with the right instructions. Whether you're upgrading your storage, disposing of your device, or troubleshooting issues, this guide will walk you through the process. This article provides a comprehensive step-by-step approach to ensure you can safely and effectively remove your laptop's hard drive.
There are several reasons why you might need to remove your laptop's hard drive. Upgrading to a larger or faster SSD (Solid State Drive) can significantly boost your laptop's performance. Alternatively, if your laptop is experiencing issues, removing and replacing the hard drive might be necessary for troubleshooting. Additionally, if you're disposing of or selling your laptop, removing the hard drive is essential to protect your personal data from falling into the wrong hands.
Understanding the 'why' helps in assessing your specific needs and prepares you for the task ahead. Knowing the purpose can also inform your decision on what kind of new drive to install or how to handle the old one.
Before you start, ensure you have the following materials and tools ready:
- A small Phillips-head screwdriver
- An anti-static wrist strap (optional but recommended)
- A clean, flat workspace
- External storage or another device to back up your data
Having these tools ready ensures a smoother process and reduces the risk of damaging your laptop or losing data.

Step 1: Backup Your Data
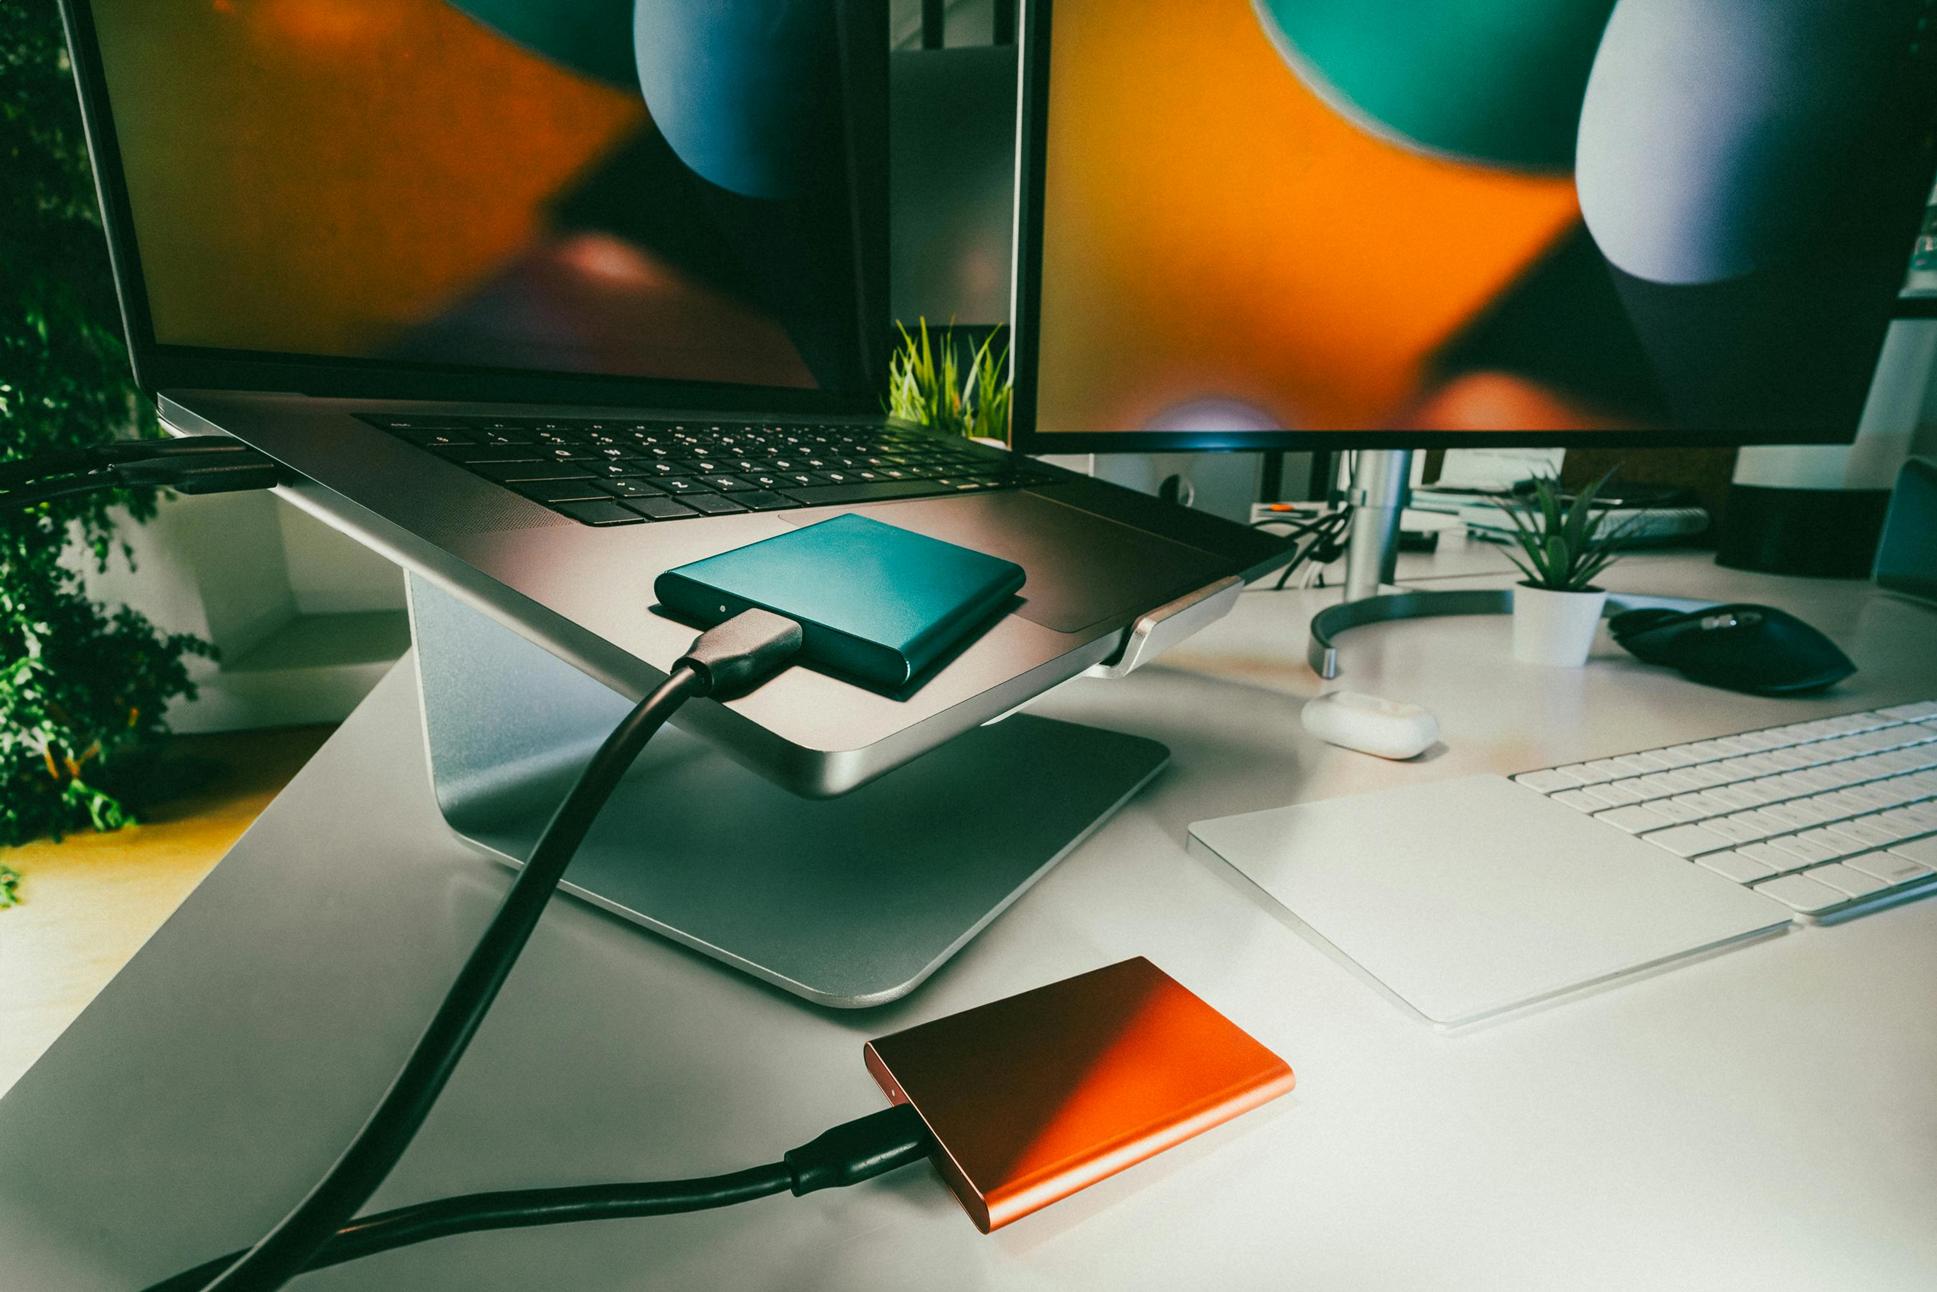
- Connect an external storage device to your laptop.
- Transfer important files like documents, photos, and application data to the external storage.
- Use backup software (if available) for a more comprehensive backup, capturing system settings and configurations.
Backing up your data is crucial to prevent data loss during the hard drive removal process. Ensure that you have copies of all essential files before proceeding.
Step 2: Power Down and Disconnect Your Laptop
- Shutdown your laptop completely. Avoid initiating 'Sleep' mode.
- Unplug the power adapter from the laptop.
- Remove the battery, if it's easily accessible and removable.
These steps ensure that there is no power running through your laptop, reducing the risk of electric shock and preventing potential damage to your hardware.
Step 3: Access the Hard Drive Compartment
- Flip your laptop upside-down to access the bottom panel.
- Locate the hard drive compartment. It is often indicated by a small hard drive icon or specific screws.
- Remove the screws securing the compartment cover using your Phillips-head screwdriver.
- Gently lift the cover to expose the hard drive.
Carefully handling your laptop and using the correct screws ensure that you won't damage the case or strip the screws, making future access difficult.
Step 4: Safely Remove the Hard Drive
- Look for the hard drive connector. This is often a cable or a direct connection to the motherboard.
- Unscrew any additional screws securing the hard drive (if present).
- Gently pull the hard drive away from the connector, ensuring you don’t tug at cables.
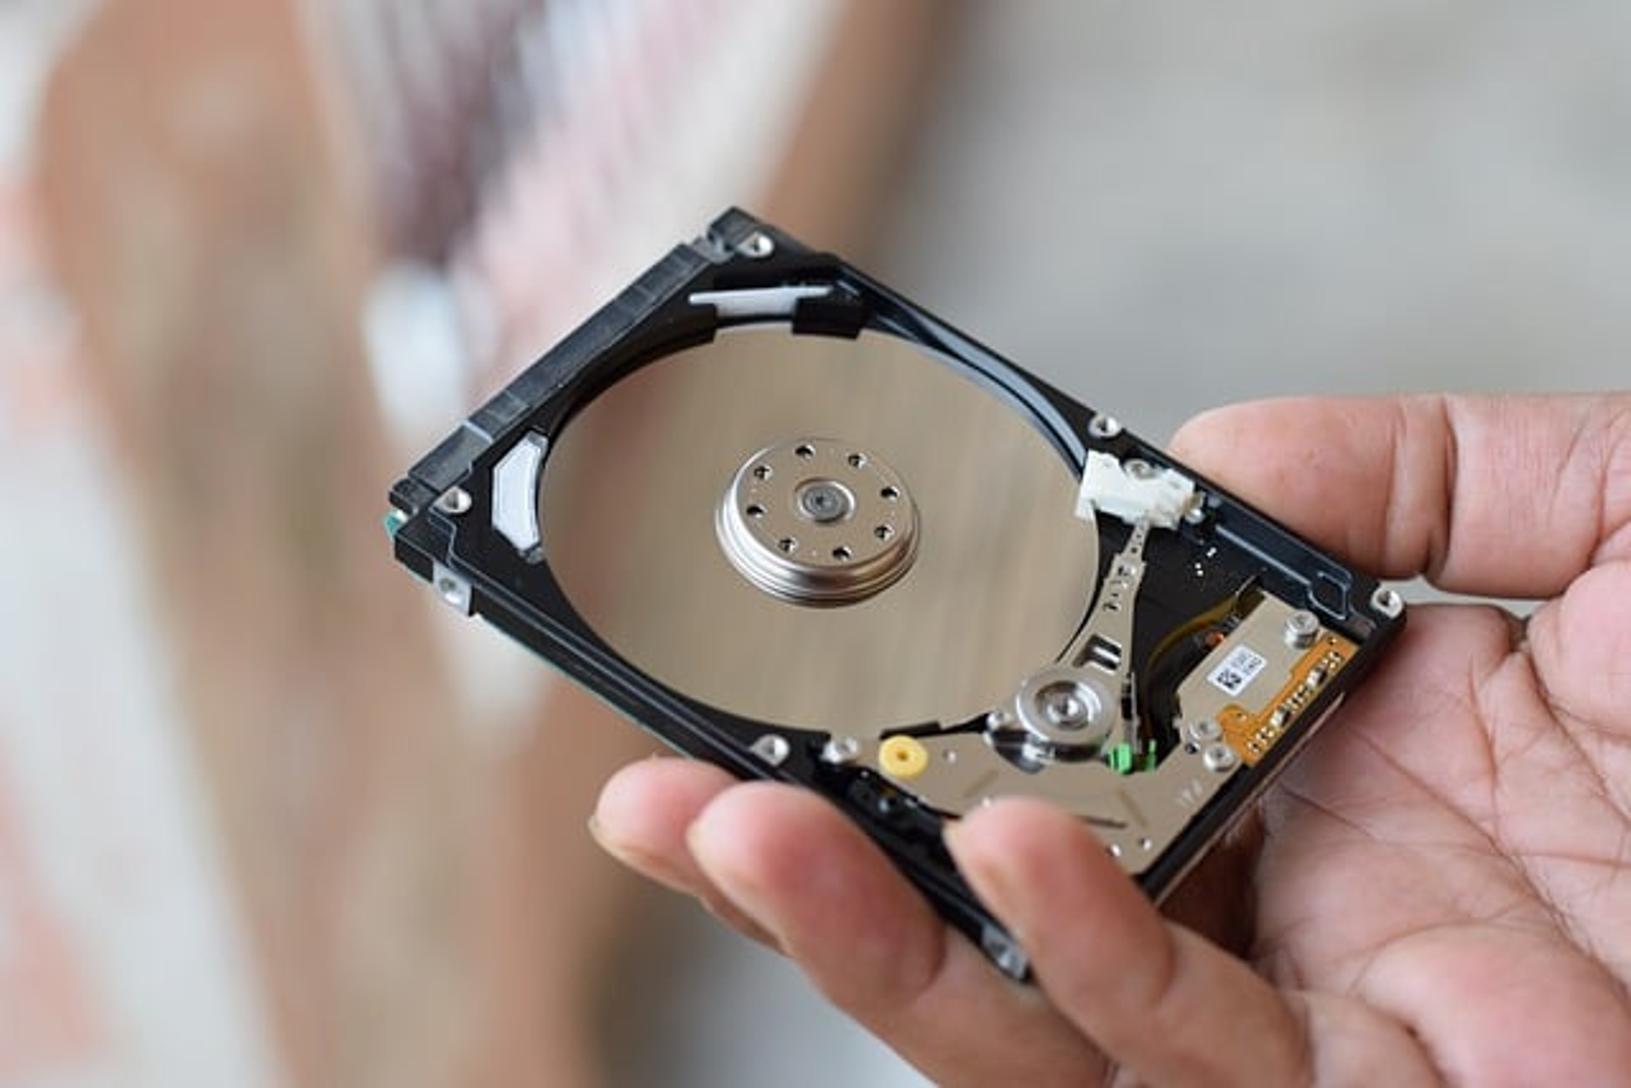
- Lift the hard drive out of its bay carefully.
If your laptop has brackets securing the hard drive, you will need to remove these screws as well. Handle the hard drive gently to avoid damaging the spinning disks (for HDDs) or the electronics (for SSDs).

Optional: Installing a New Hard Drive
- Slot the new hard drive into the bay, aligning it with the connector.
- Secure it with screws if brackets or fasteners were initially used.
- Replace the compartment cover and screw it back into place.
This step is for users who are replacing the removed hard drive with a new one, ensuring it's secure and ready for use.
After removing or replacing the hard drive, it's time to reassemble your laptop.
- Reattach the hard drive compartment cover if you haven’t done so already.
- Secure all screws tightly but avoid over-tightening to prevent damage.
- Reconnect the battery if it was removed.
- Flip the laptop right-side-up and ensure all external connections are secure.
Reassembly should be done carefully to ensure that all components are in place and secure, preparing your laptop for testing.
- Reconnect the power adapter and any other peripherals.
- Power on your laptop and listen for any unusual sounds.
- Access the BIOS/UEFI settings during startup by pressing the appropriate key (often F2, F10, or DEL).
- Check if the hard drive (new or existing) is recognized by the BIOS.
If the BIOS can detect the hard drive, then it has been installed correctly. If you encounter issues, you may need to recheck connections or consult additional resources.
Removing a hard drive from your laptop doesn't have to be an intimidating process. By following this guide, you can confidently remove and replace your laptop's hard drive, whether for upgrades, repairs, or data protection. Remember always to back up your data and handle all components delicately to avoid permanent damage.
Frequently Asked Questions
What should I do if my laptop doesn't recognize the new hard drive?
If your laptop doesn't recognize the new hard drive, ensure it's correctly connected and seated in its bay. Verify that the drive appears in the BIOS/UEFI. If the issue persists, try connecting the hard drive to another computer to rule out the possibility of a defective drive.
How do I safely dispose of an old hard drive?
Old hard drives should be disposed of responsibly. Consider using professional services to wipe data securely. Alternatively, use software to perform multiple data overwrites. Once data is securely wiped, recycling centers that accept electronic waste can handle the physical disposal.
Can I replace my hard drive with an SSD?
Yes, replacing a hard drive with an SSD is often recommended for better performance and reliability. SSDs have faster read/write speeds, reduced power consumption, and are more durable as they have no moving parts. Ensure the SSD is compatible with your laptop's specifications before purchasing.


